Hey guys! I have a super awesome guest post for you today from my amazing friend, Sonia, from The Mexigarian. This is my last guest post before I head back home. Tonight Woody and I are leaving Michigan and flying back home. I can't wait to see our doggies and the garden! I have a lot of pictures from our trip to share with you when I get home. In the meantime, enjoy Sonia's post on PICKLING! :-)
Hi everyone!
My name is Sonia aka The Mexigarian and I blog about, food, fitness and life! Food mostly revolving around my ethnic Mexican-Hungarian roots. I am deeply honored to be able to be a guest post on Sweetness of Life. Alaina is such a wonderful blogger and her eats are so healthy, green and lovely and, most of all so natural, that I had to really think about what I wanted to post.
A glass of wine generally helps with the thinking.

Please excuse the sun burn ^_^. I basked in the sun a little too long and the sunblock didn't work. Nothing that slathering on some aloe vera can't heal.
Well, anyways, I thought what would be sweet to make, fun and simple. I had a disastrous attempt in the kitchen for a Hungarian cake. . . . and it was time consuming and I really wanted something easy and all natural. Then I came up with an idea.
Pickles.
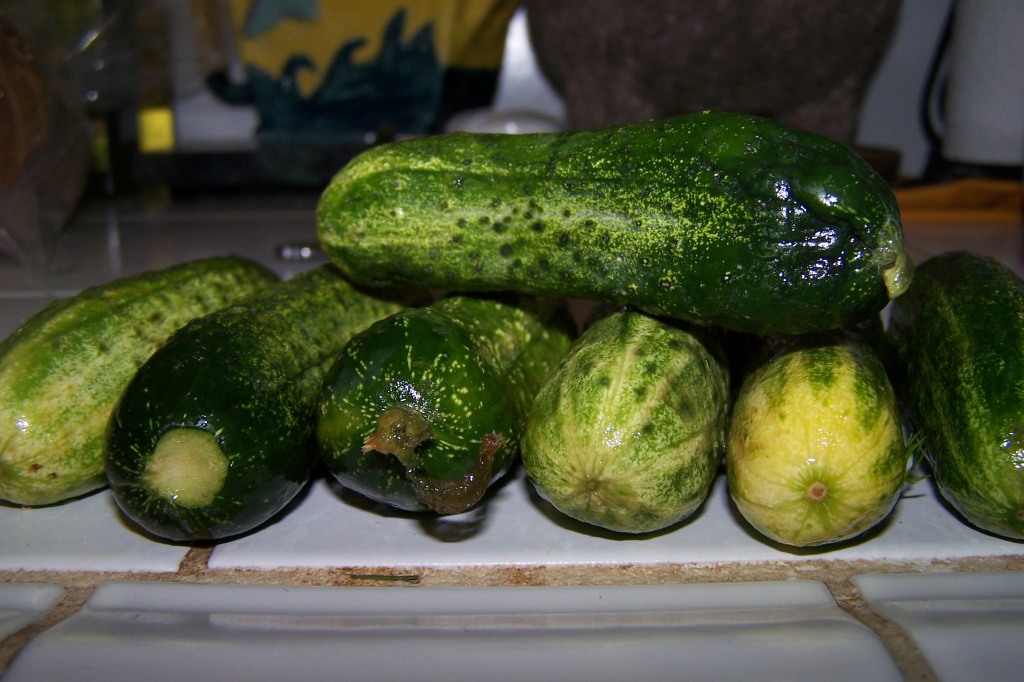
I am a pickle lover. Give me a pickle a day and I am a happy camper. Generally, I buy kosher dilled pickles the store, but since it has been heating up here in the Bay Area, I figured now was the perfect opportunity to pickle!

Pickling is very easy. Well, the old school method that I learned from my Hungarian father is. We've been pickling this way ever since I could remember. Basically, all you need is a large glass jar, six pickling ingredients and three consecutive days of high warm to hot weather and a space free of critters that will get a full days worth of sunshine.
Sun pickled pickles?? That is just as natural as you can get :D
Hungarian Style Pickles

Ingredients:
- 1/4 cup Salt
-HOT water (near boiling)
-2 to 3 bunches of dill
-2 to 3 heads of garlic, broken into cloves
-1 bag of extra sourdough bread
-5-10lbs pickling cucumbers (small, bumpy) [10lbs should make about two full jars]
Method:
1. Make sure your pickling jar is clean and free of any dust. Set the lid aside where you can find it in three to four days.

2. Wash and scrub down your pickles. You can cut off the very ends, though I prefer to keep them, and make three small slices on the length of the pickle. Don't cut too deep, just small gashes. If you cut too deep, you may end up with a water logged mushy pickle.
3. At the bottom of the jar create a small layer, or nest, with some stems of the dill and toss in some of the garlic cloves. Sprinkle in about a tablespoon or so of salt. (Salt to taste! Mama likes them salty, me not so much)
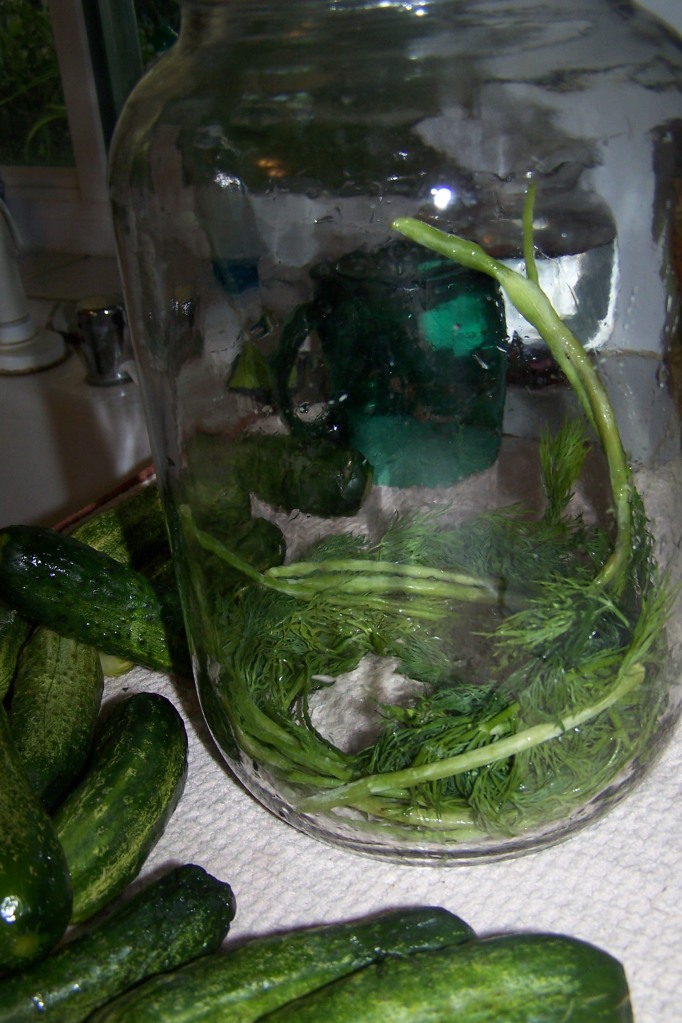
4. a.) Layer one to two rows of the cucumbers on top.
b.) Add another nest of dill and garlic and salt followed by more cucumbers. Continue to layer this way until the last layer of dill is about two and a half inches from top of jar.
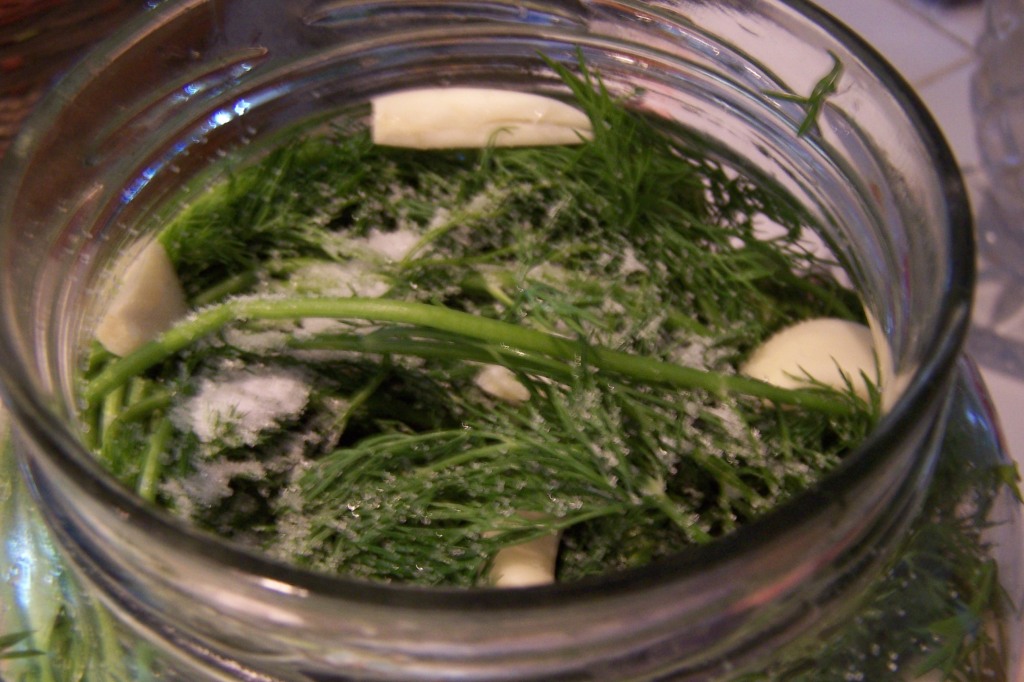
5.) Pour in some of the hot water about halfway up the jar.
6.) Stuff in a layer of sourdough bread on top of the last layer of dill, making sure to completely cover the pickles.
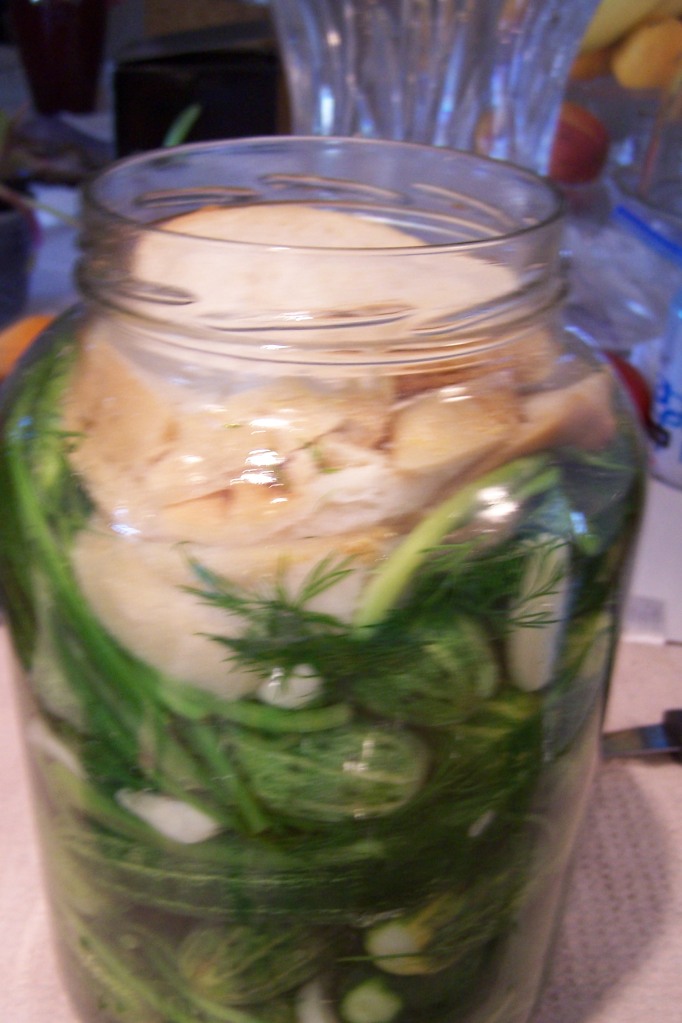
7.) Pour in more hot water until the water completely covers the top of the sourdough bread. The bread will puff up as it absorbs the water. Just make sure the water is always just above the bread. Don't over water or you will drown the bread, it will get nasty and you lose a batch of pickles. Lesson learned. Truth.
8.) The jar will be and should be extremely hot, so put on a pair of oven mitts and take the jar outside (if you're not outside already) and carefully place it in place where it will be constantly in the sun.
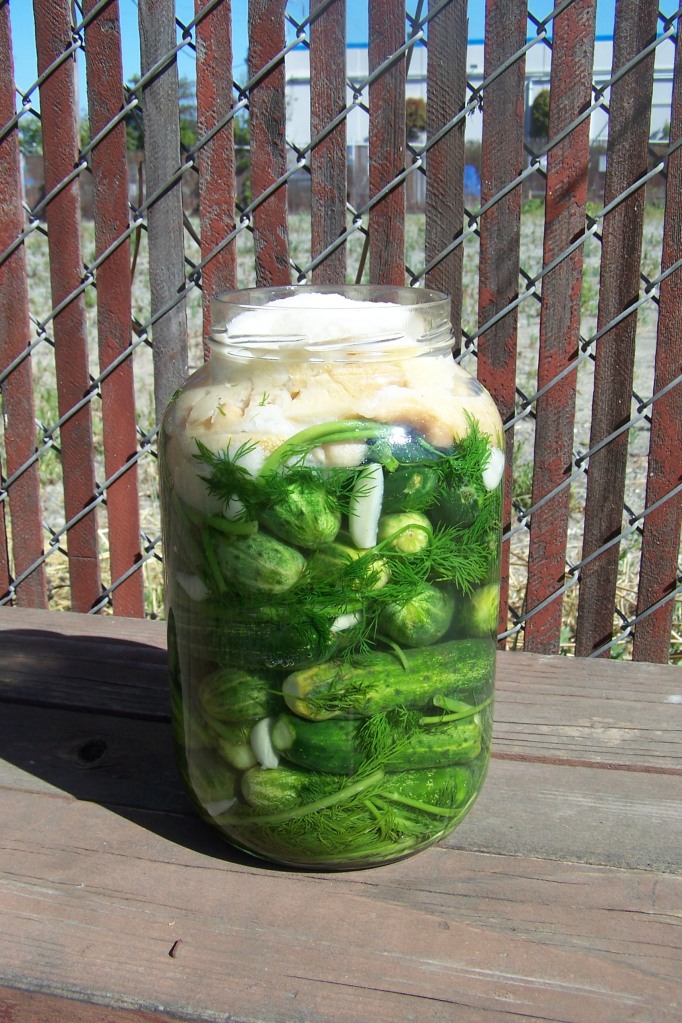
9.) Make sure to bring in the jar every night and keep away from and cold drafts. The next day, put the jar out again. If any water has evaporated, just heat up some more water and pour in to cover just the top of the bread.
10.) The pickles should be ready in about three days, given the temperature outdoors. Taste test. It should come out crispy, with a crunch and a nice garlic palette with underlying dill and just enough salt to make your lips pucker. (well, that's how I figure it out.)
11.) Now, you have to separate dill, garlic and bread from the pickles and brine. Easiest way is to dump the jar out into a fine mesh sieve, making sure the brine can be collected and saved. Put the brine and pickles back in the jar and dump the excess.
12.) Cover the jar with the lid and set in fridge to cool. Presto!
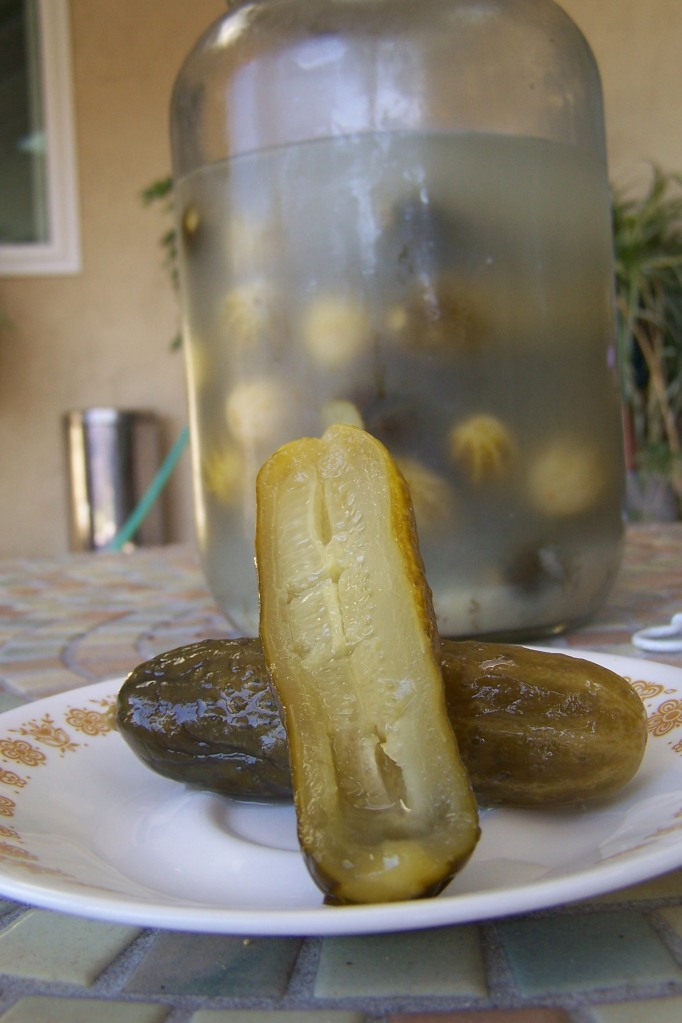
And now you have a large jar of pickles that can last you for the summer (several months). Sometimes our large jars last for a whole year..... but I am not sure how safe that is so just go with your instincts. Lol.
Or you can set them in small jars along with the brine and give away as gifts.
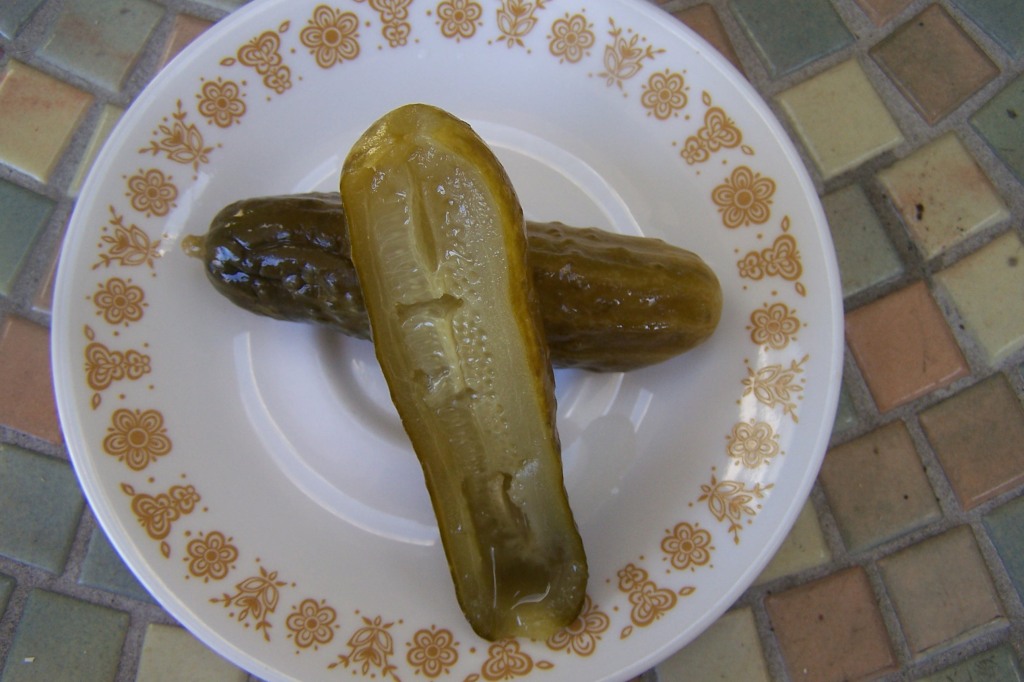
These babies are very juicy, with just the right amount of garlic and salt. Plates may be needed to eat these suckers unless you want pickle juice on your shirt :)
Enjoy on a hot summer day with a simple Hungarian lunch of cheeses, breads, cold cuts, sweet peppers and fruits. Mmmm. Sounds yummy. Or slice them up to make bread and butter pickles, easy to put on sandwiches and burgers. You can even chop one up with a tomato, add some pepper and you have a simple relish.
Hope you enjoyed this simple little pickling method. There are many other ways to and many things you can pickle. Fruits, other various veggies, the list goes on. I will show more things to pickle later on on my blog.
Do you know how to pickle? What's your favorite way and what do usually like to pickle? What is you favorite way to eat a pickle?
